101 Vanishing Point Tutorial CS3CS6) YouTube

Vanishing Point in The Essential Guide
Vanishing Point in Adobe Photoshop CC John Whitehead Images 8.52K subscribers Subscribe Subscribed 667 124K views 5 years ago I MADE A NEW VERSION OF THIS VIDEO WITH BETTER AUDIO AND HOW TO CLONE.

15 Steps Mastering Vanishing Point in CC
The vanishing point is a 3D effect editing tool used in Adobe Photoshop. It is used to provide a three-dimensional perspective by changing the angle and planes of the image on different 3D axes. With the help of the Vanishing Point tool, you may resize and rotate the elements of your image to match the perspective.
How to use the Vanishing Point filter
Vanishing Point Filter in Adobe Photoshop To edit an image from its applied perspective, Photoshop has introduced a filter called the Vanishing Point Filter. Applying this filter, we can add text in perspective and simply edit anything in the applied perspective. Let's see how we can use this filter to edit our images.
Vanishing Point in How to Use Vanishing Point in
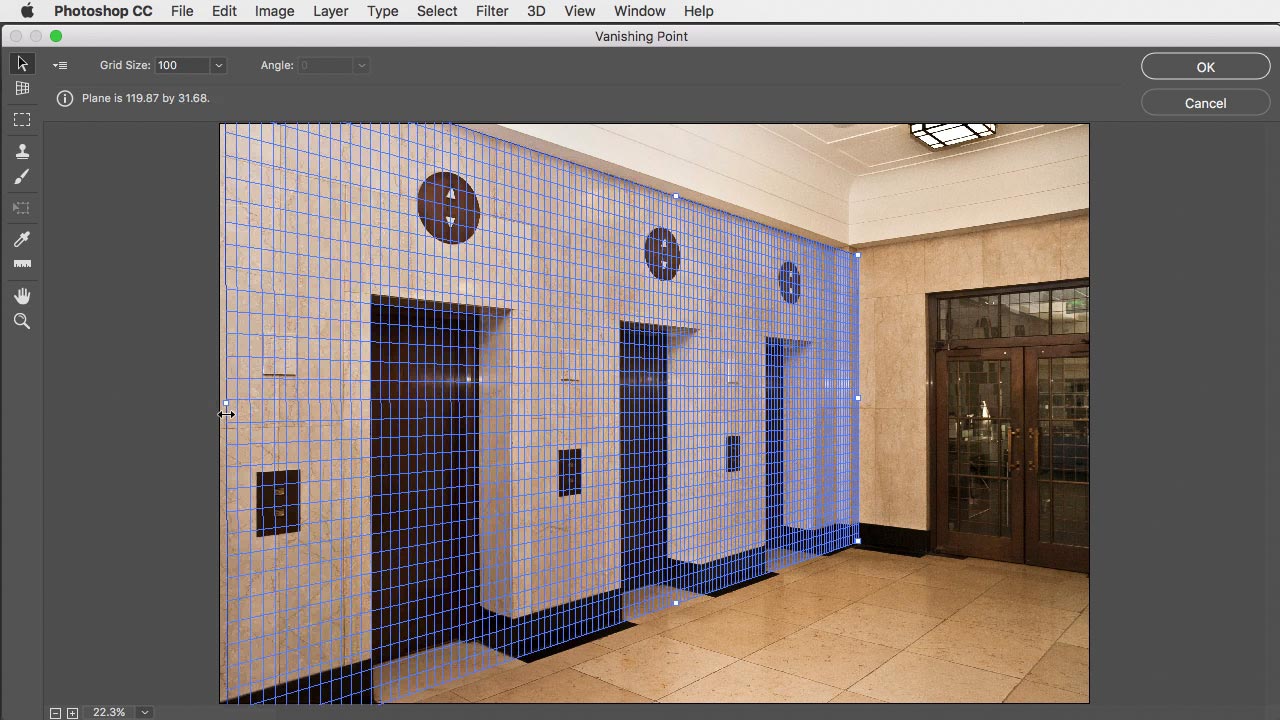
1. Open Image If you are prepared to begin putting image in perspective in Photoshop, first of all open the picture you wish. Choose Open in the File tab. 2. Go to the Vanishing Point Filter The next action in this Photoshop tutorial would be selecting the Vanishing Point option in the Filter panel. 3. Highlight Area Using Create Plane Tool

The Vanishing Point Filter and Perspective CC Tutorial EASY YouTube
Unlock the power of perspective in Adobe Photoshop! This short tutorial will guide beginners through the basics of using vanishing points, while also serving.

Vanishing Point Tutorial with and After Effects Vanishing point,
The Vanishing Point Filter and Perspective | Photoshop CC Tutorial | EASY This Photoshop CC Tutorial discusses how to use the Vanishing Point Filter to add images, text and graphics to.
Vanishing Point in Adobe CC YouTube
Vanishing Point is a Photoshop filter that allows objects and edits in your image to be scaled and oriented according to the image's perspective. You can find Vanishing Point under the Filter menu (simply click Filter, then Vanishing Point ).

HOW TO USE VANISHING POINT 2017! YouTube
Use Vanishing Point in Photoshop Vanishing Point Last updated on May 23, 2023 Photoshop User Guide Introduction to Photoshop Photoshop and other Adobe products and services Photoshop on the iPad (not available in mainland China) Photoshop on the web (not available in mainland China) Photoshop (beta) (not available in mainland China)

Vanishing Point CS6) Wrap Demo (Part 1 of 2) YouTube
4 85 views 2 months ago Photoshop Welcome to our Adobe Photoshop tutorial on using Vanishing Point! In this comprehensive tutorial, we'll dive deep into the powerful Vanishing Point.

15 Steps Mastering Vanishing Point in CC
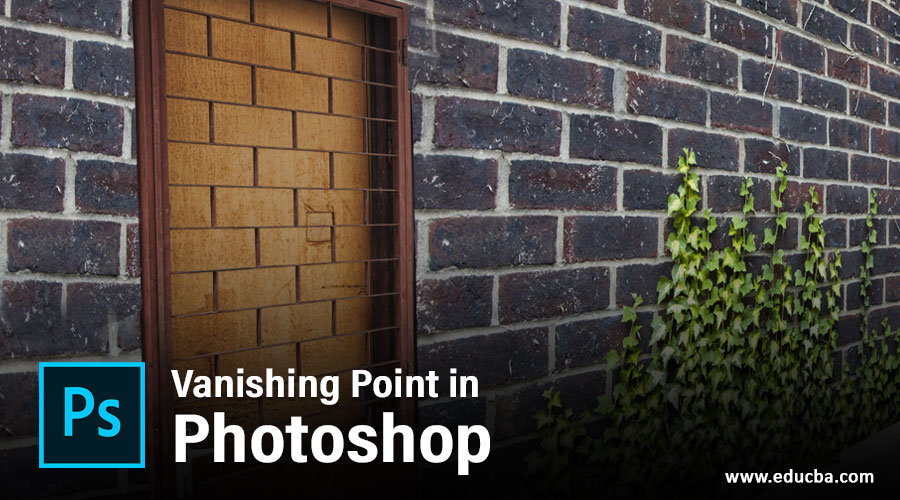
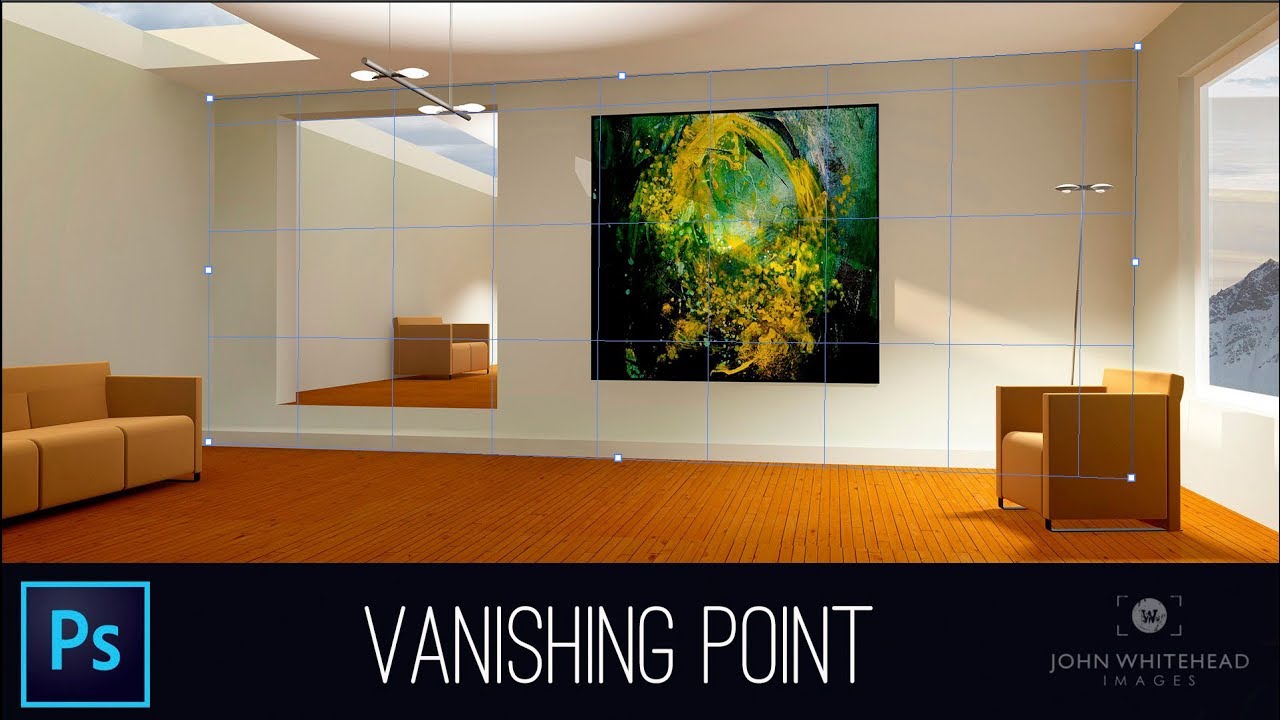
The Vanishing Point filter will allow you to place any object such as a photo or a painting onto basically any surface in Photoshop using the correct perspective. It's a pretty simple tool to use and the results are amazing. So have you ever had a room where it was completely empty and you wanted to put some wall art up?

Keep Things in Perspective With Vanishing Point The Shutterstock Blog
The vanishing point is a 3D effect editing tool used in Adobe Photoshop. It is used to provide a three-dimensional perspective by changing the angle and planes of the image on different 3D axes. With the help of the Vanishing Point tool, you may resize and rotate the elements of your image to match the perspective.
Vanishing Point in The Essential Guide
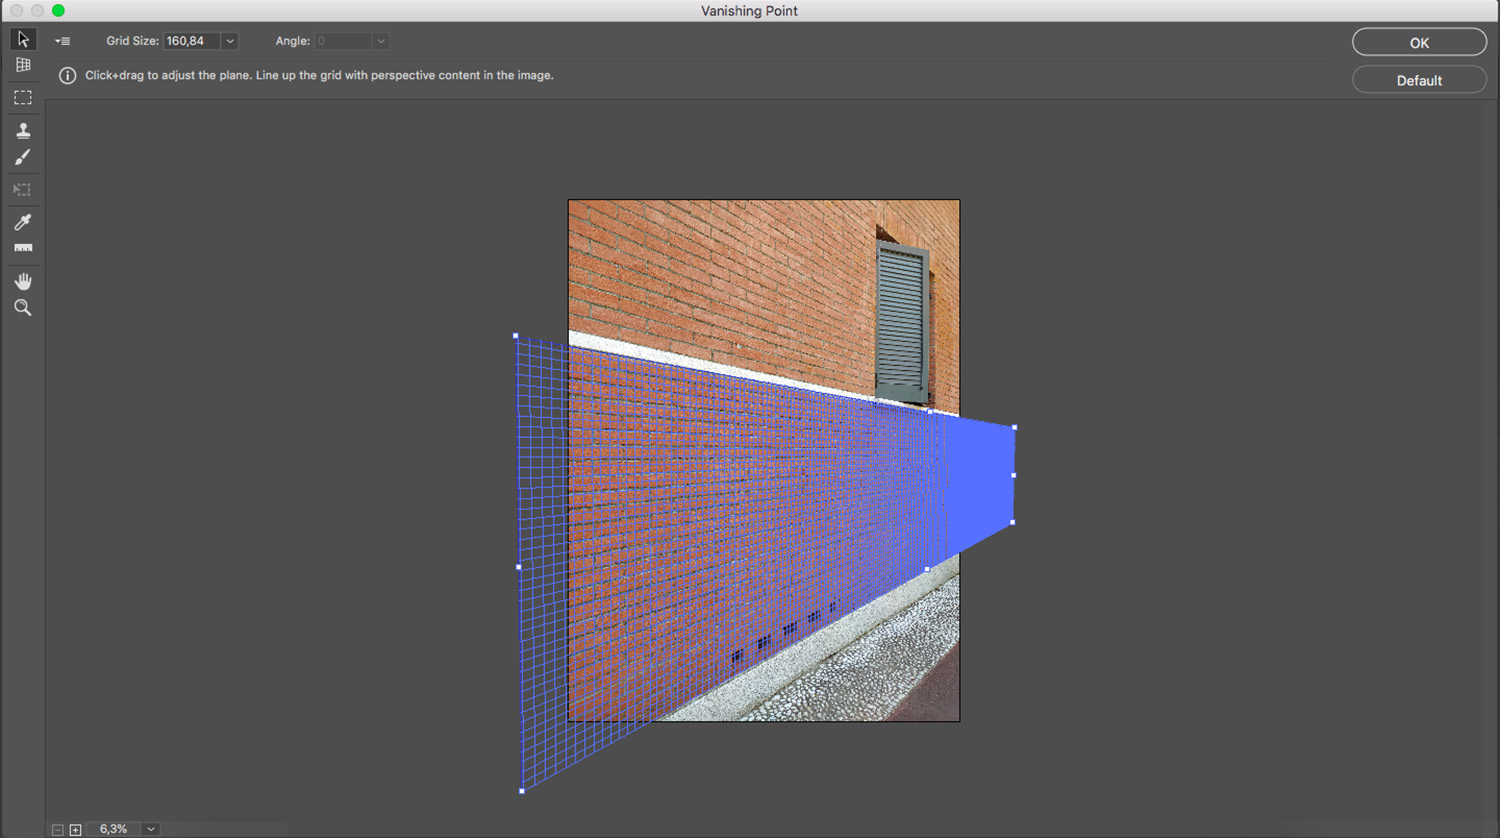
First, Open your image in Photoshop. In Photoshop Filter, you will find the Vanishing Point Dialog Box, navigate to the top menu bar Filter > Vanishing Point. The Vanishing Point Dialog Box will open, and your image will open in the canvas window.

How to use Vanishing Point Filter in Subscribe to my Youtube Channel for more
In Adobe Photoshop, there is a 3D effect modification tool called the vanishing point. By altering the image's angle and planes on several 3D axes, it is utilized to generate a three-dimensional perspective. You can resize and rotate the components of your image to match the viewpoint with the Vanishing Point tool.

101 Vanishing Point Tutorial CS3CS6) YouTube
Step 1: Create Plane/Grid First, open your image in Photoshop and add a blank layer from your Layer Panel. Next, select that blank layer then go to Filter > Vanishing Point. Add a blank layer Select the Vanishing Point Tool We'll select the section where we want your text or graphic to be placed.

Vanishing Point in The Essential Guide
A vanishing point in photoshop is something about a photoshop filter that permit objects and editing skills in your image to be scaled and oriented according to the image perspective. You can treasure the vanishing point under the filter menu by clicking Filter, then the vanishing end.

How To Use Vanishing Point In
Step 8: Now go to the Menu bar of this software at the top of the working screen, and click on the Filter menu. A drop-down list will open; choose the Vanishing Point option from the list by clicking on it, or you can use the shortcut key for the Vanishing Point, Alt + Ctrl + V. Step 9: Once you click on this option, a Vanishing point window.
